


Join our mailing list
Educational Tools
Explore in-depth reviews and savvy recommendations of the best and latest educational web tools.Discover how these tools can transform education and inspire innovative teaching.

About Educator’s Technology
Educational Technology and Mobile Learning (ETML) is a blog owned and operated by Med Kharbach. Dr. Kharbach holds a PhD in educational studies from Mount Saint Vincent University in Halifax, Canada. He was also a K-12 teacher with over 12 years of classroom teaching experience.
I launched ETML in 2010 with the purpose of helping my fellow EFL (English as Foreign Language) teachers integrate technology in English language teaching. Fast forward to 2022, ETML became among the top EdTech blogs with over 7000 published blog posts. ETML has been referenced in a wide variety of academic research journals, books, and news outlets including the New York Times, Huffpost.com, Hubspot.com… [continue reading].
Teacher Resources
A treasure trove of insightful tutorials, step-by-step guides, handy printables, valuable educational websites, and more. Created to support educators in crafting transformative learning experiences.


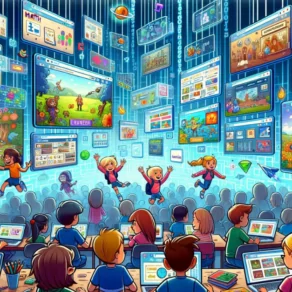
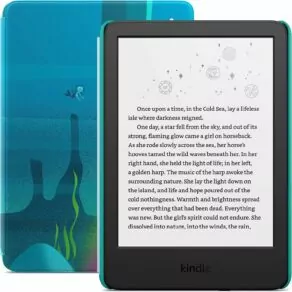
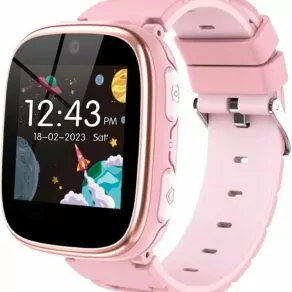
EdTech Resources for Kids
Discover tools that make learning fun, engaging, and effective for our young learners.